
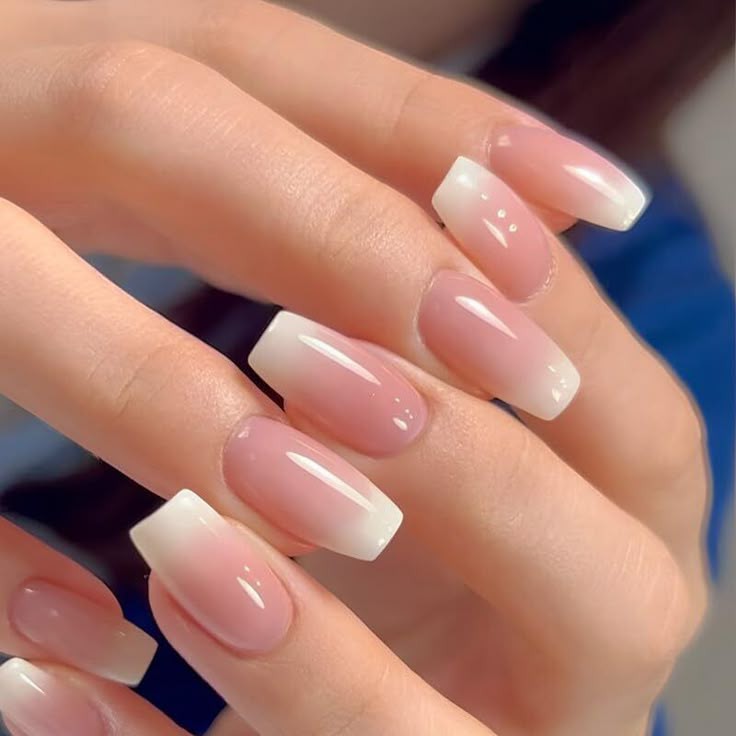
Nail extensions have revolutionized the beauty industry, providing a quick way to achieve long, flawless nails. Whether you prefer gelish nail extension kits, blab nail extensions, or traditional acrylic nail tips, there’s an option to match every style. In this guide, we’ll explore everything you need to know about extension nail tips, their types, how to apply them, and essential maintenance tips to keep them looking perfect.
- What Are Nail Tip Extensions?
- Benefits of Nail Tip Extensions
- Types of Nail Tip Extensions
- How to Choose the Right Nail Tip Extensions for You
- Step-by-Step Guide to Applying Nail Tip Extensions
- Common Mistakes to Avoid When Applying Nail Tips Extensions
- How to Maintain and Care for Nail Tips Extensions
- How to Safely Remove Nail Tips Extensions
- Conclusion
- Frequently Asked Questions (FAQs) About Nail Tip Extensions
What Are Nail Tip Extensions?
Nail tip extensions are artificial enhancements applied to natural nails to add length and shape. They can be made from acrylic, gel, or press-on materials and are commonly used in nail salons or DIY nail extension kits.
Benefits of Nail Tip Extensions
- Instant nail length and shape enhancement
- Long-lasting with proper care
- A wide variety of nail extension shapes available
- Perfect for nail art and creative designs
- Provides added protection for weak or brittle nails
Types of Nail Tip Extensions
There are several types of nail extensions to choose from based on durability, appearance, and application method.
1. Acrylic Nail Tips
Acrylic extensions are among the most popular choices. They involve applying a liquid and powder combination that hardens into a strong, durable extension. They’re ideal for those who want long-lasting results.
2. Gel Nail Tips
Gel extensions, often found in gelish nail extension kits, offer a more flexible and natural look compared to acrylics. They require curing under UV or LED lamps and provide a glossy finish.
3. Press-On Nail Tips
Press-on nails are a quick and easy alternative. Available in various designs and nail extension shapes, they can be applied using nail glue or adhesive tabs.
How to Choose the Right Nail Tip Extensions for You
When selecting the perfect extension nail tips, consider the following factors:
- Durability: Acrylic lasts longer, while gel provides flexibility.
- Maintenance: Gel extensions require regular fills, while press-ons are low-maintenance.
- Style Preference: Different types of nail extensions come in various lengths, shapes, and finishes.
- Lifestyle: Active individuals may prefer shorter, more durable extensions like acrylics.
Step-by-Step Guide to Applying Nail Tip Extensions
Follow these simple steps to achieve salon-quality nails at home using a nail extension kit.
Step 1: Prepare Your Natural Nails
- Clean and trim your natural nails.
- Push back the cuticles and buff the surface to remove shine.
Step 2: Choose the Right Nail Tips
- Pick the right size that fits your natural nail bed.
- File and shape them as needed.
Step 3: Apply Nail Adhesive Properly
- Use a high-quality nail glue or gel adhesive from your gelish nail extension kit.
- Apply a thin layer of glue evenly to prevent lifting.
Step 4: Attach and Secure the Nail Tips
- Carefully press the extension onto your natural nail and hold for 10-15 seconds.
- Ensure there are no air bubbles underneath.
Step 5: Shape and File the Extensions
- Use a nail file to refine the edges and smooth out rough spots.
- Buff the surface to prepare for polish or nail art.
Step 6: Apply Polish or Nail Art
- Seal your extensions with a top coat for a long-lasting finish.
- Get creative with nail designs, colors, or embellishments.
Common Mistakes to Avoid When Applying Nail Tips Extensions
- Skipping nail preparation (leads to poor adhesion)
- Using too much or too little adhesive
- Not filing and shaping correctly
- Overusing UV/LED lamps (for gel extensions)
- Ignoring proper removal techniques (which can damage natural nails)
How to Maintain and Care for Nail Tips Extensions
To keep your nail extensions looking fresh:
- Moisturize your cuticles daily.
- Refrain from using your nails as tools to minimize the risk of breakage.
- Refill your biab nail extensions or acrylics every 2-3 weeks.
- Use a nail extension kit for quick fixes at home.
- Always wear gloves when doing household chores to protect your nails.
How to Safely Remove Nail Tips Extensions
Proper removal is essential to prevent nail damage:
- Soak nails in acetone for 15-20 minutes.
- Gently push off softened acrylic or gel with an orange stick.
- Buff the natural nail and apply cuticle oil for hydration.
Conclusion
Extension nail tips are a fantastic way to enhance your nails with style and durability. Whether you choose gelish nail extension kits, blab nail extensions, or acrylic tips, the right choice depends on your lifestyle and preference. By following the correct application and care techniques, you can enjoy flawless nails without compromising the health of your natural nails. Ready to get started? Grab your nail extension kit and transform your nails today!
Frequently Asked Questions (FAQs) About Nail Tip Extensions
Q1: How long do nail tip extensions last?
Acrylics can last 4-6 weeks with refills, while gel extensions last about 2-3 weeks. Press-ons typically last up to a week.
Q2: Are nail extensions safe for natural nails?
Yes, when applied and removed correctly, they do not cause damage. Always follow proper care routines.
Q3: Can I do nail extensions at home?
Absolutely! A gelish nail extension kit or an acrylic nail extension kit can help you achieve professional results at home.
Q4: What is the best type of nail extension for beginners?
Press-on nails are the easiest, while bib nail extensions and gel extensions are suitable for those comfortable with UV/LED curing.
Q5: What are the most popular nail extension shapes?
Almond, coffin, square, and stiletto are among the trending shapes in nail extensions.